
Hanging wall art seems simple—hammer in a nail, hang the frame, done. But we’ve all been there: the picture is crooked, the spacing feels off, or the whole setup looks “meh” instead of Pinterest-worthy. The good news? With a few pro tricks, you can hang wall art perfectly every single time and turn your walls into a stunning focal point.
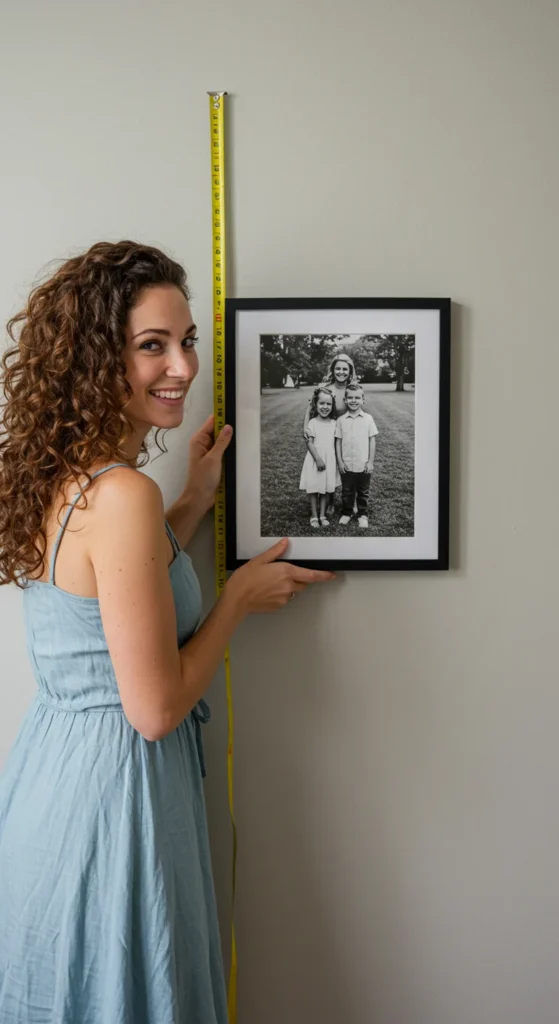
Step 1: Find the Right Height
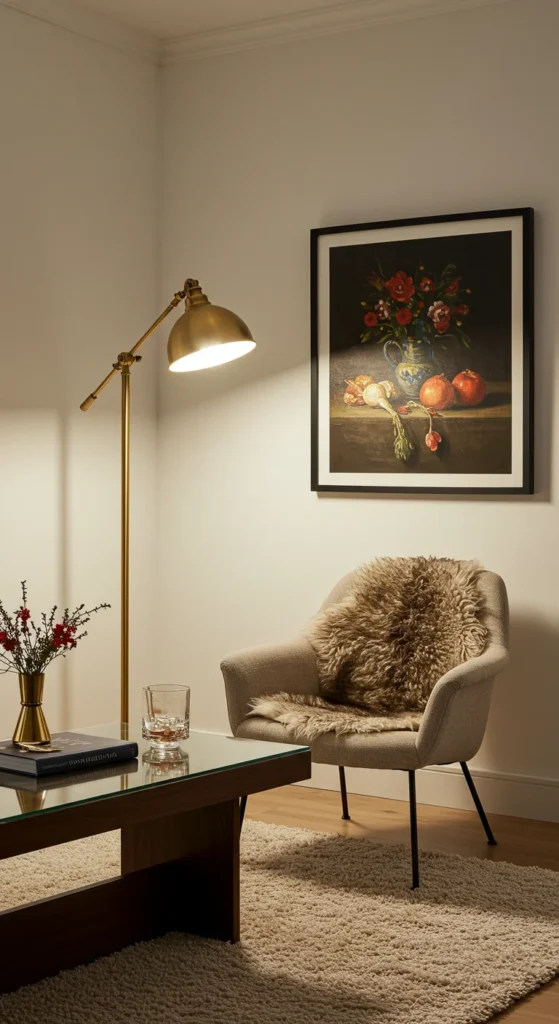
The most common mistake people make is hanging art too high. Designers recommend keeping the center of your artwork at eye level—about 57 to 60 inches from the floor.
- Hanging above furniture? Leave 6–8 inches between the bottom of the frame and the top of the furniture.
- Large pieces? Let them anchor the space by aligning with furniture edges.
- Small pieces? Group them together instead of scattering them too high on the wall.
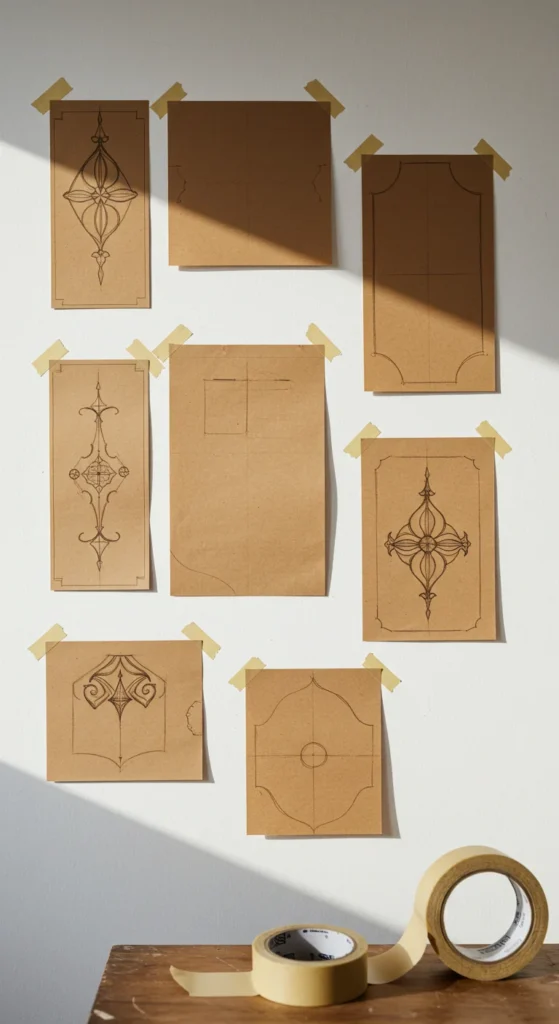
Step 2: Plan Before You Hammer
Don’t start hammering randomly—plan your layout first.
- Cut paper templates the size of your frames and tape them to the wall.
- Try different arrangements until you find the balance that feels right.
- Step back and check from different angles before committing.
This trick saves your walls from unnecessary holes and your nerves from frustration.
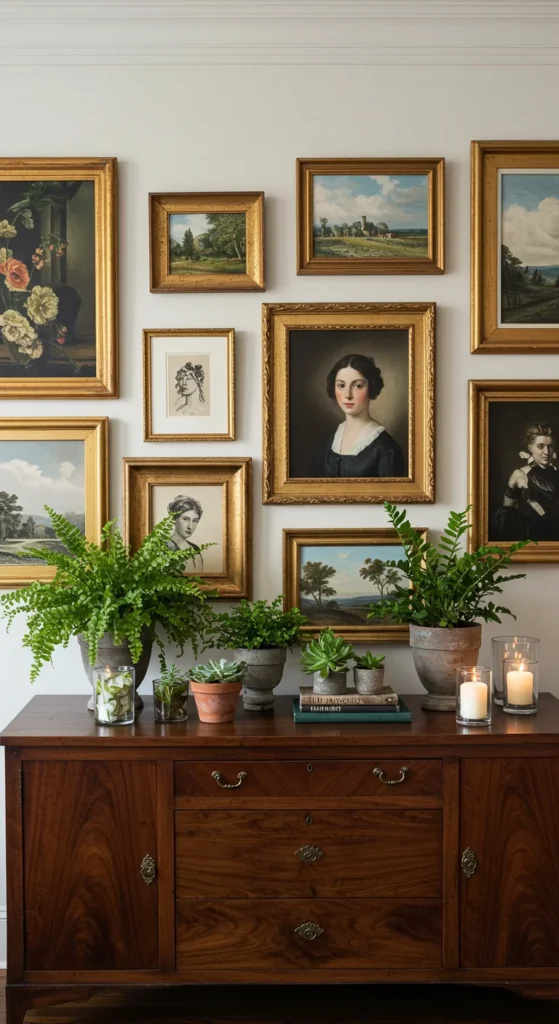
Step 3: Balance Size and Spacing
Balance is key when hanging multiple pieces:
- Keep 2–3 inches of space between frames for gallery walls.
- Mix larger pieces with smaller ones for variety.
- Align the tops or bottoms of frames for a clean, structured look—or stagger for a playful, casual vibe.
Think of your arrangement like a puzzle—everything should connect visually.
Step 4: Choose the Right Hardware
Not all walls (or frames) are the same, so pick hardware wisely:
- Lightweight frames → adhesive hooks or small nails.
- Medium frames → picture hooks with angled nails.
- Heavy frames → wall anchors or screws into studs.
Pro tip: Always use a level or a smartphone leveling app to make sure everything is perfectly straight.
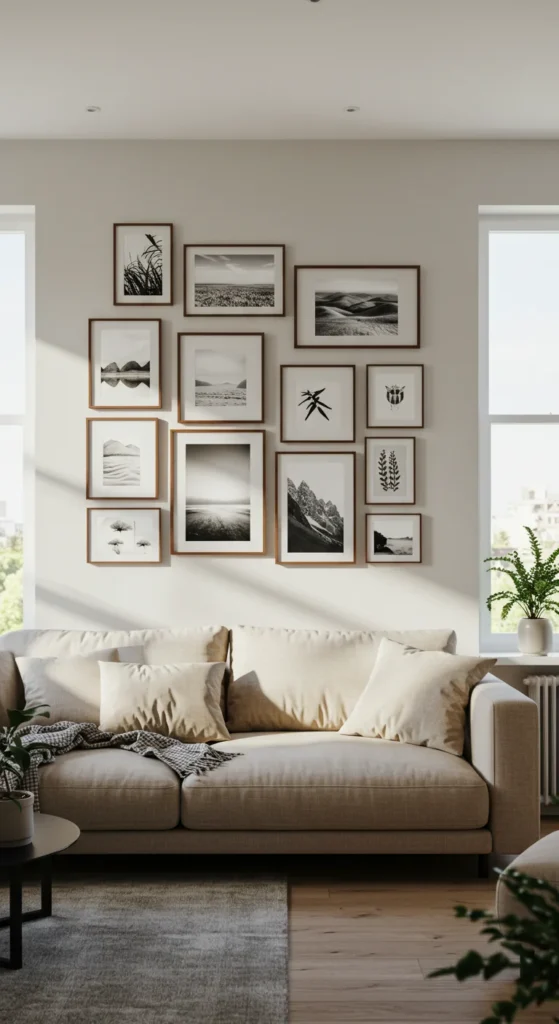
Step 5: Play with Symmetry and Style
You don’t always need a traditional “row of frames” look. Try these ideas:
- Symmetrical grid → perfect for modern, clean spaces.
- Eclectic gallery wall → mix sizes, frames, and art styles.
- One large statement piece → ideal for minimalist spaces.
- Triptychs or pairs → adds harmony without being too busy.
Your walls should reflect your personality as much as your decor.
Step 6: Step Back and Adjust
Once your art is up, step back and view it from across the room. Sometimes a tiny adjustment—raising one side slightly, nudging pieces closer—makes all the difference.
Lighting also matters! A strategically placed lamp or spotlight can highlight your artwork and make it pop.
Takeaway
Hanging wall art like a pro isn’t about luck—it’s about planning, balance, and the right hardware. Start by choosing the right height, plan with paper templates, and focus on spacing and symmetry. With these tips, your walls will look intentional, stylish, and magazine-worthy every time.
Leave a Reply