
Gallery shelves—also known as picture ledges—are one of the easiest ways to transform a blank wall into a curated, stylish focal point. They let you display artwork, photos, décor, and even small plants without the commitment of hanging dozens of frames. The best part? You can change the display anytime without drilling new holes.
If you want a flexible, Pinterest-worthy wall display, gallery shelves are the perfect solution—and you can create them in just five simple steps.
Step 1: Choose the Right Wall and Measure Your Space
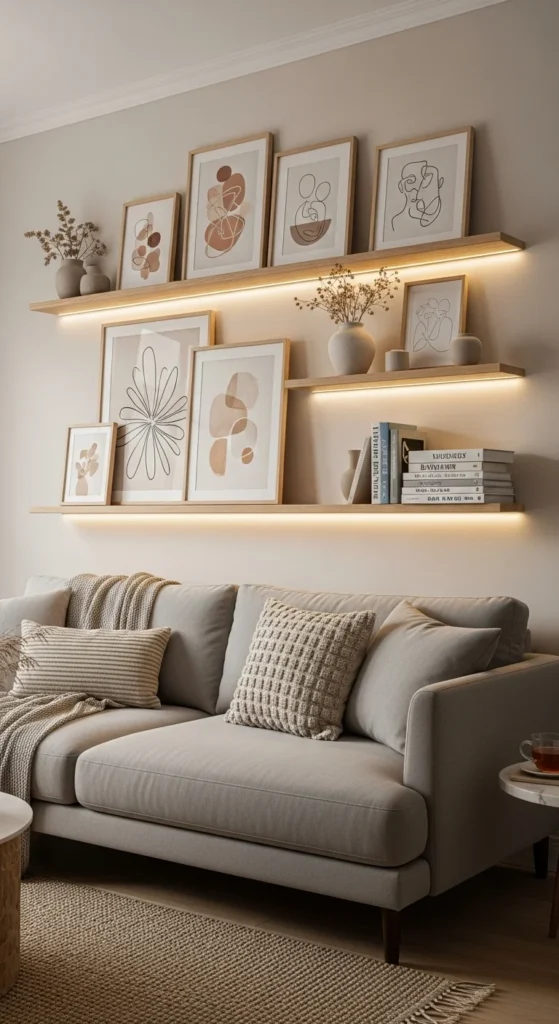
Before you buy anything, select the wall that will host your gallery shelves. Make sure it’s a space you see often or one that needs a little personality—hallways, living rooms, entryways, and behind sofas are ideal.
Once you choose the wall, grab your measuring tape.
Here’s what to check:
- How wide you want the shelves to be
- How many shelves will fit comfortably
- How much spacing you want between each shelf
- Whether you want them centered or extended across the wall
A good rule of thumb is to leave 8–12 inches between shelves. This gives enough room for layering without feeling cramped.
Step 2: Select Shelves That Fit Your Style
Gallery shelves come in many materials and finishes. Choose the look that blends with your décor or completes the mood you’re trying to create.
Popular options include:
- Natural wood for a warm, organic feel
- White shelves for a clean, modern vibe
- Black shelves for bold contrast
- Floating ledges for a minimal look
- Thicker wooden ledges for a rustic or farmhouse style
Make sure your shelves have a lip or edge to keep frames and décor from slipping forward.
Step 3: Install the Shelves with Care
Installing the shelves is easier than you think, especially if you go step-by-step. Always check if your shelves require studs or anchors based on weight.
Here’s a simple installation process:
- Mark the height on the wall using a pencil.
- Use a level to ensure your shelf line is perfectly straight.
- Drill pilot holes where needed.
- Add anchors (if the wall doesn’t have studs).
- Screw in the shelf brackets or shelf directly into the wall.
Take your time during installation—the straighter the shelves, the more polished your display will look.
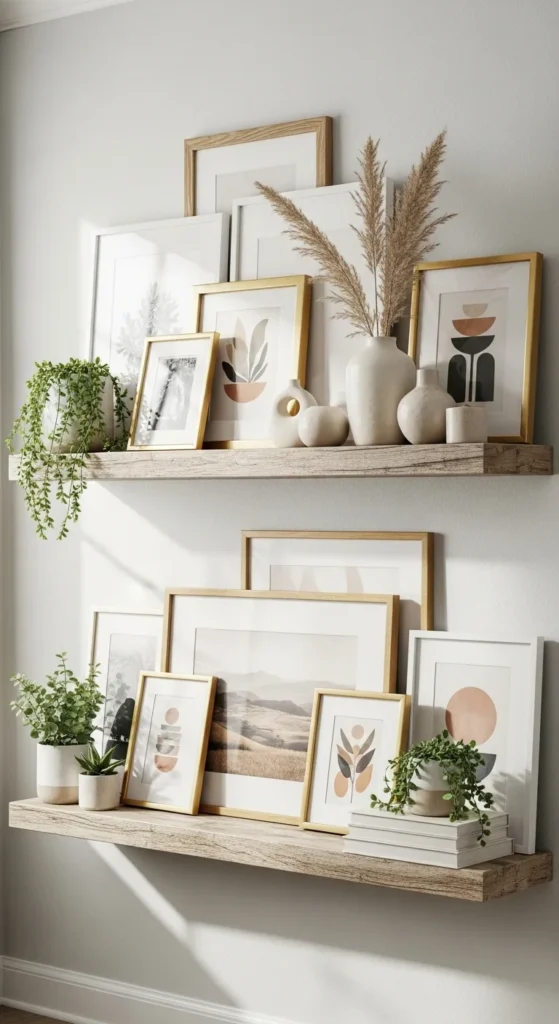
Step 4: Layer Your Frames and Décor Like a Pro
This is the fun part! Styling gallery shelves is all about layering, balance, and variety. The goal is to make the arrangement look intentional, not cluttered.
Here are some easy layering tips:
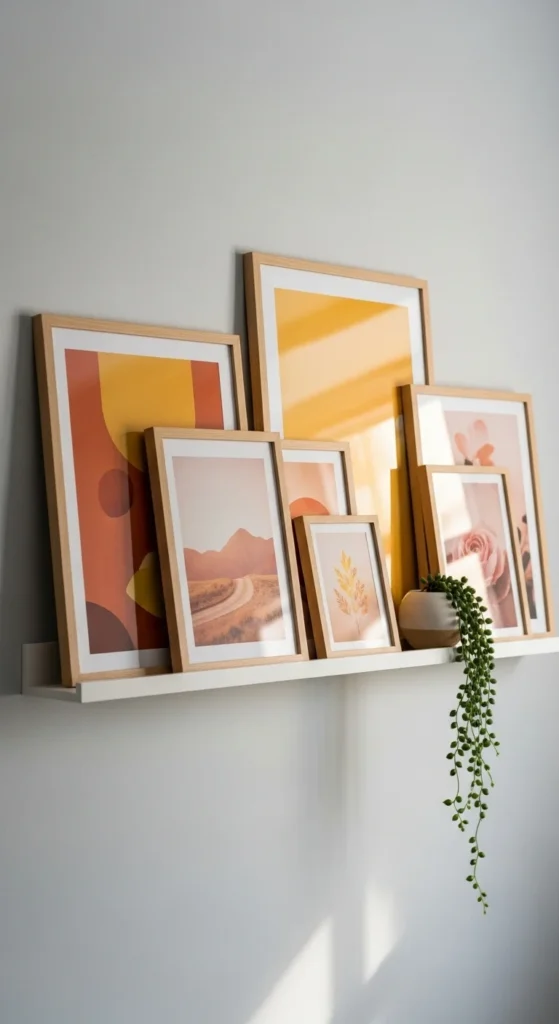
- Start with larger frames in the back.
- Add medium frames in front of them at an angle.
- Mix in small art pieces, quotes, or illustrations.
- Add height with a vase, candle, or plant.
- Balance colors—don’t cluster too many dark frames on one side.
- Leave a little empty space so the display can breathe.
Think of it as arranging a tiny art gallery that you can swap out whenever inspiration strikes.

Step 5: Add Personal Touches to Make It Your Own
The beauty of gallery shelves is that they’re fully customizable. You’re not just decorating—you’re telling your story through meaningful pieces.
Ideas to personalize your display:
- Family photos
- Travel prints
- Artwork from local artists
- Vintage frames
- Souvenirs from trips
- Seasonal décor
- Small plants for freshness
- Inspirational quotes
Don’t be afraid to mix old and new pieces. The charm of gallery shelves comes from the personality they bring to your space—not the perfection.
Bonus Tips for Beautiful Gallery Shelves
Keep the palette cohesive
Choose a color theme—neutrals, black-and-white, earthy tones, or pastels—to keep the display visually unified.
Swap décor seasonally
Your shelf can evolve with holidays, seasons, or your mood—no nails required.
Mix horizontal and vertical frames
This makes the arrangement more dynamic and less predictable.
Use plants for softness
Greenery adds life and breaks up the straight lines of frames.
Try asymmetry
You don’t need everything perfectly centered—slight offsets add charm.
Final Takeaway
Creating gallery shelves is an easy, fun, and flexible way to elevate any wall in your home. With just a few simple steps—choosing your wall, selecting shelves, installing carefully, styling with layers, and adding personal touches—you can create a stunning, ever-changing display that reflects your personality.
Leave a Reply