
A headboard can completely change the vibe of your bedroom—adding character, warmth, and a polished finish. The best part? You don’t have to spend hundreds of dollars. With a few tools, some creativity, and a free weekend, you can create a headboard that looks custom-made.
Gather Your Supplies and Choose the Style
Before starting, decide on the headboard style that fits your bedroom—wooden planks, tufted fabric, or even a bold painted mural.
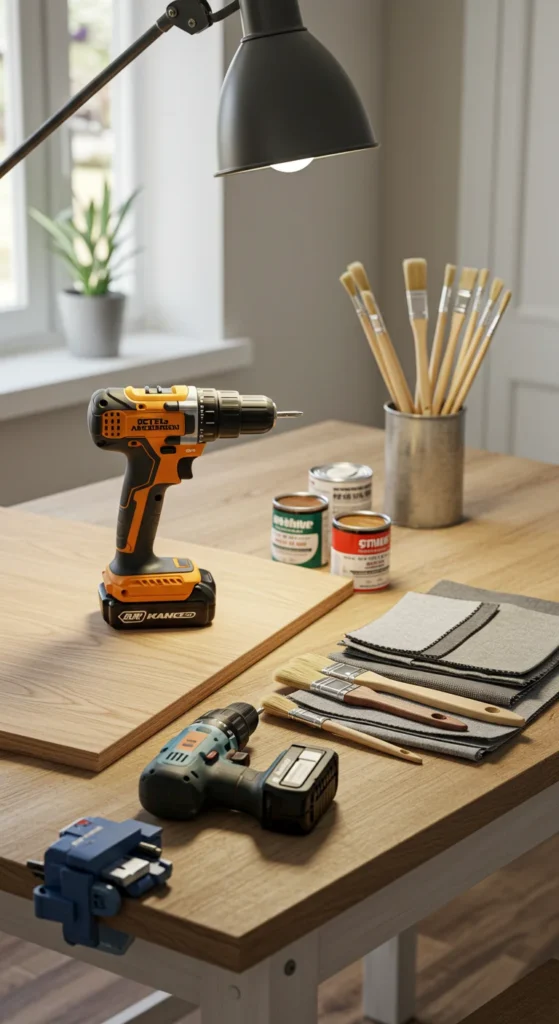
Basic supplies you’ll need:
- Plywood or reclaimed wood planks
- A measuring tape and pencil
- Screws, brackets, and a drill
- Sandpaper or an electric sander
- Paint, stain, or fabric (depending on style)
Budget tip: Look for reclaimed wood at thrift shops or online marketplaces. You can often get great materials for a fraction of retail prices.
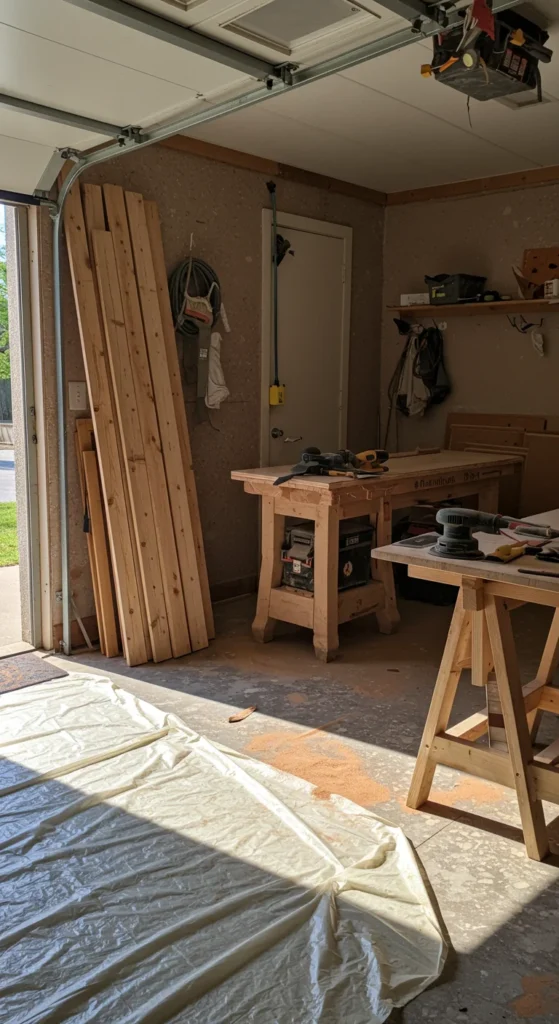
Prep Your Workspace and Materials
Pick a well-ventilated area like a garage, patio, or balcony to avoid fumes from paints and stains.
- Lay down a drop cloth to protect floors.
- Sand wooden boards until smooth to avoid splinters.
- If you’re upholstering, cut your foam and fabric to size in advance.
Taking time to prep makes the building process faster and smoother.
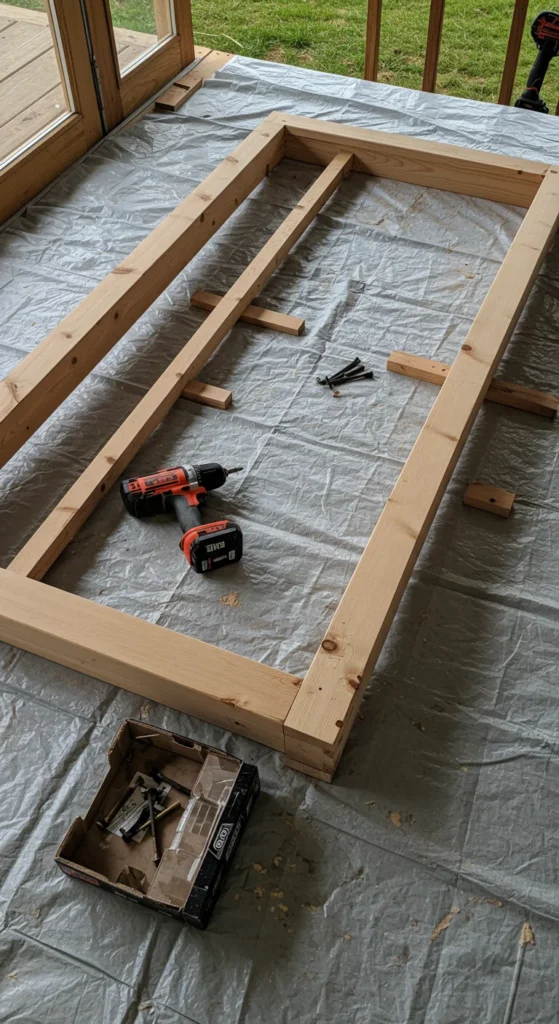
Build the Frame or Base
For a wooden headboard:
- Measure your bed width plus a few extra inches on each side.
- Use screws and brackets to assemble a simple rectangular frame.
- Securely attach planks or panels to the frame.
For an upholstered version:
- Use plywood as your base and staple foam to the front before covering with fabric.
Always check that your headboard height feels balanced with your bed and wall.
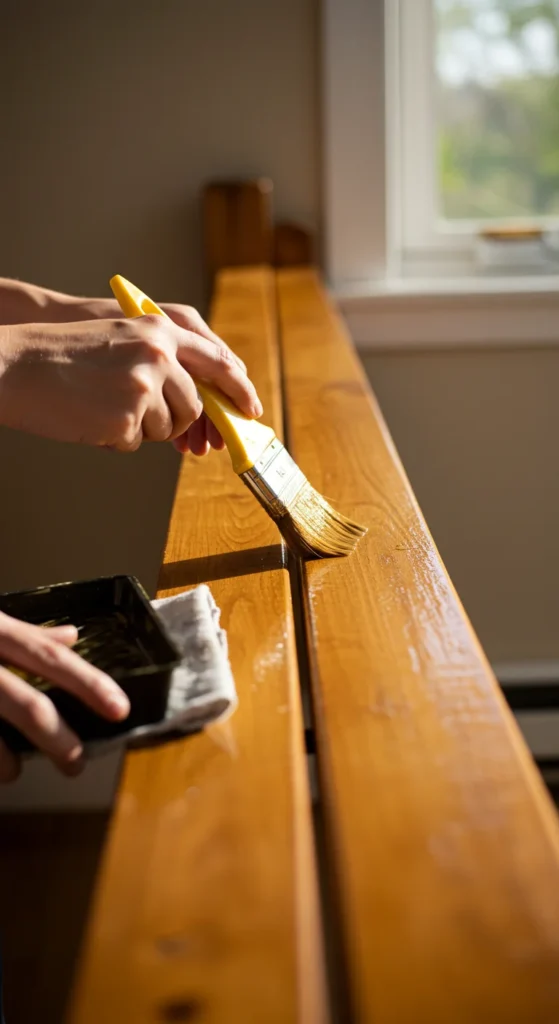
Add Finishing Touches
Here’s where your personality shines through:
- Stain the wood for a rustic look or paint it in a bold accent color.
- Add tufted buttons for a plush, elegant style.
- Consider stenciling a simple pattern or adding decorative trim.
Let each coat of stain or paint dry completely before applying the next layer.
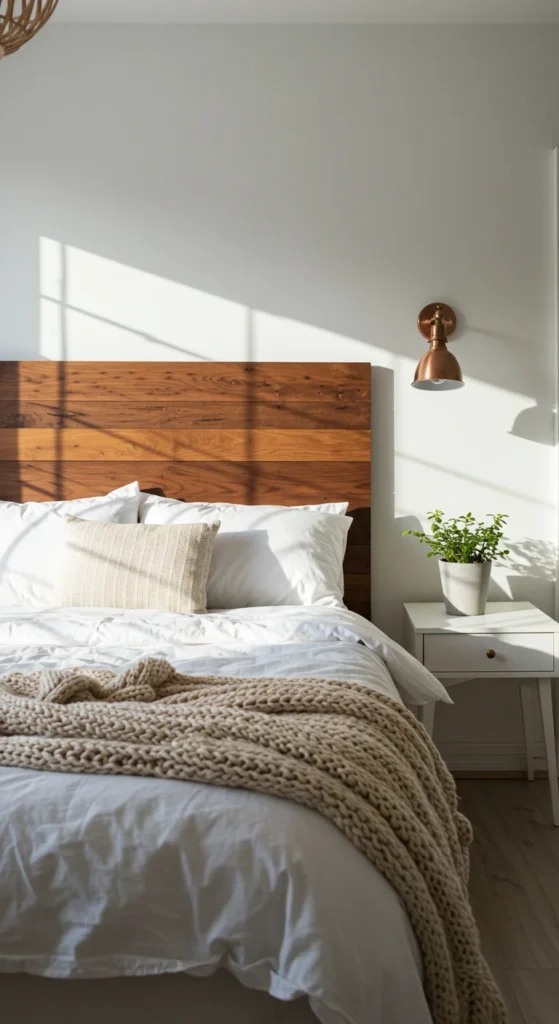
Style Your New Headboard in the Room
Once dry, move the headboard behind your bed and style your space to highlight it:
- Pair it with crisp white bedding for a clean look.
- Layer textured pillows and throws to make it feel cozy.
- Add small wall sconces or fairy lights on either side for extra charm.
This simple upgrade can make your whole bedroom feel like it belongs in a magazine spread.
Takeaway
In just one weekend, you can create a stunning headboard that adds character and warmth to your bedroom—without breaking the bank. Whether you go rustic with stained wood or opt for a soft upholstered finish, a DIY headboard is a fun way to personalize your space. Grab your tools, get inspired, and start transforming your bedroom today!
Leave a Reply